
Yes, you can install and use InqScribe 2 and InqScribe 3 at the same time.
Windows
For Windows, they key is to use a different folder name for the install, and to rename the desktop shortcut.
- Download InqScribe 2.
- Run the installer
- When you get to the "Select Destination Location" window change the default folder to a unique folder name, e.g. "InqScribe v2" or "InqScribe v3" (your folder will vary depending on your operating system and whether you chose to install InqScribe or yourself only or for all users)
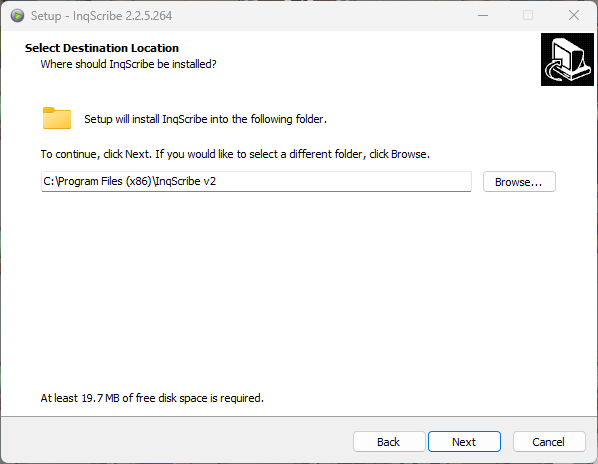
- At the "Select Additional Tasks" screen, make sure "Create a desktop shortcut" is selected.
- Finish the selections and click "Install"
- On your desktop you'll find a new shortcut called "InqScribe"
- Rename the shortcut to match the version, e.g. "InqScribe 2.2.5" (You can name it anything you want)
Now do the same thing with InqScribe 3.
- Download and Install InqScribe 3
- For the "Select Destination Location" use "InqScribe v3" or something unique
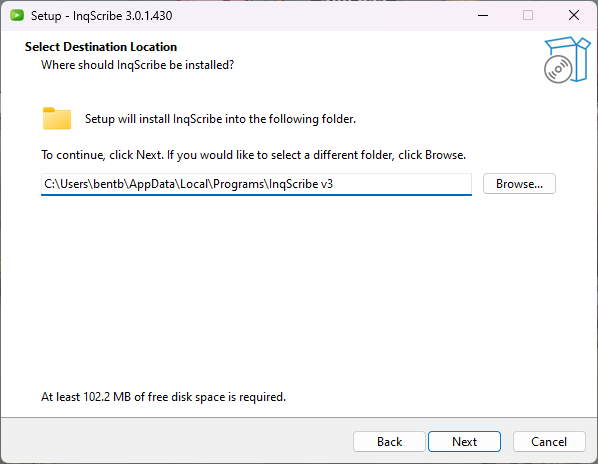
- Save a shortcut again and finish the installation.
- Rename the shortcut on your desktop, e.g. "InqScribe 3.0.1" (You can name it anything you want)
macOS
On macOS, the key is to rename the application after you add it to your "Applications' folder.
- Download InqScribe 2 installer
- Open the disk installer
- Drag the "InqScribe" icon to the "Applications" folder
- Double click the "Applications" folder to open it
- Find the "InqScribe" application and rename it to something unique, like "InqScribe v2"
Now do the same thing with InqScribe 3
- Download InqScribe 3 installer and open it
- Drag the "InqScribe" icon to the "Applications" folder
- Double click the "Applications" folder to open it
- Find the "InqScribe" application and rename it to something unique, like "InqScribe v3"